Sunday, 31 July 2016

Soft long-length blouse


The last project from my favourite beginner's book, 'Sewing Machine Basics', is a long sleeved blouse with some pleats on the front and back. I picked a white viscose fabric with great drape, and cheaper than silk.


If I made it again, I would change the neck and the sleeves. The round neck makes me look like I'm in pre-school, although it might be flattering for other people. The sleeves are a bit too wide, it reminds me of the Seinfeld episode about the puffy shirt ( I don't want to be a pirate!).


I'm really happy with the set-in sleeves, no puckering at all, thanks to the great instructions, and the pleats, I think they add a simple but gorgeous detail to the garment.

Sunday, 22 May 2016

Jacket from Vogue V7975 (II)

Well, I've been making some progress and now the jacket has lining. I found a blue polyester fabric, a bit brighter than I had planned but the contrast is quite nice.


A couple of things I've learnt so far with this make: when finishing seams it's better to tidy the threads as you go along; if they're left to be done at the end, some threads can show on the right side, which can be really difficult to tidy when many seams are sewn together, e.g., around the armhole. The other thing I found helpful is to use white thread to mark the spot where seams need to match, like the pockets; in this thick dark fabric I couldn't use my purple vanishing ink pen.

The plan is now to complete the lining on the hem and sleeves and that's it.

Link to the previous post beginning a jacket - Vogue V7975

Wednesday, 10 February 2016

Beginning a jacket - Vogue V7975


I've started sewing a jacket but although the style is quite simple, inspired by the classic Chanel design, I think it might take a bit of time to complete. I'm trying not to feel overwhelmed by the task ahead so I've selected a cheap jersey fabric, although with a sort of boucle texture, sequins included. One thing I'm most excited about is that the jacket has lining, it might look like a pro.

So far, the length is slightly different in parts, but that can get fixed, as I'm not worried about shorten it if necessary. My next task is setting the sleeves, I hope I can ease them without much puckering.

Sunday, 8 November 2015

Snack sack

I found this snack sack tutorial from Sew Can Do (link) a while ago but hadn't got round to completing it, probably too busy making t-shirts.


The tutorial is fairly straightforward, it consists of two cylinders, with the inner one made of waterproof material. In my case I could only find a standard white PVC. I chose a yellow ribbon to provide some contrast to the bag.

My intention is to make a few more as this is a good present for friends with small children but I suppose that it could also be used for storing little items or as a wash bag.

Wednesday, 9 September 2015

V-neck top

This is my second rub-off item, another t-shirt for a change. I used a different model this time, another old favourite, mainly because of a small detail. The sleeves are just above the elbow, so they are quite cosy when the weather is not too hot and, unlike 3/4 sleeves, they don't roll upwards, which can end up in a little mess under a cardigan.


I made a mock band hem, inspired by a book I bought recently on overlockers (The overlocker technique manual by Julia Hincks), which has many tips on different techniques. You make a sort of seam, through an s-shape fold, and it looks like a separate band of fabric has been attached to the hem.

The first step is to make the s-shape fold. Laying the fabric with the wrong side up, make a fold so that the wrong sides join. Then, with the right side up, make a fold joining both right sides.


The fold should have three layers of fabric, with the border of the fabric remaining on the edge. This edge is sewn with the overlocker. I lifted the blade to avoid cutting too much.


Once the new fold is opened, there you are, an easy way to add some variation to hems.

Thursday, 21 May 2015

Shirt from Vogue 2634 (long sleeve version)


This is the second part of my shirt-making endeavours, but now with long sleeves. I made the version C, which has two patch pockets.

I used a very light viscose, it makes the shirt almost float. But it has its drawbacks: it is quite delicate so I did the edgestitching manually (moving the needle slowly by hand instead of using the foot pedal) around corners and in narrow areas on the collar and when stitching multiple layers to avoid breaking the thin needle.

It's noticeable how thin this fabric is around the buttonholes; they puckered a lot, although it's disguised thanks to the busy pattern. Next time, interfacing!

Monday, 27 April 2015

Me-Made-May'15

I'm taking part in Me-Made-May this year. It's a very exciting way to encourage you to wear your handmade clothes. This is my challenge: 3 items per week.

'I, Ana of http://mysewingside.blogspot.co.uk  sign up as a participant of Me-Made-May '15. I endeavour to wear three hand-made garments each week for the duration of May 2015'

Many participants are able to wear something every single day, a real achievement. I think there's still a long way for me to manage that, so I'll start by trying to find three things, hopefully not repeating too much.

Thursday, 5 March 2015

Boatneck t-shirt

The easiest and therefore my first project to make use of the overlocker was a t-shirt. I had no actual pattern but used an old t-shirt to create one. It's a boatneck top, one of my favourite shapes. I was given a gem of a book (101 Sewing Secrets by Singer) that explains the rub-off technique, among many other tips. It consists of copying another garment by tracing a fairly accurate pattern by laying a transparent paper or muslin and transferring the seamlines. This method is a great way to recreate your favourites, especially when something fits perfectly.

The starting point is pen and paper, and a french curve is also really useful.


To create the pattern, you need to turn the t-shirt inside out and fold it in half and follow the seams or other marks. Once the outline is finished, the seam allowance needs to be added (see the darker mark on the pattern below).

Then to sew. I followed the instructions here. To briefly summarise, the first step is to join the front and back at the shoulders, and then the round part of the sleeve is attached. The next step is to create a single seam starting from the sleeve all the way down the side.


For the hem and the neck opening I used a twin or double needle, to mimic coverstitch. I found that just folding the seam allowance wasn't the strongest finishing, so I would add bias binding next time.


As the two photos show below, the front and the back are identical. I only realised after finishing the t-shirt that it could do with a little label on the back.

Friday, 23 January 2015

My new overlocker

I got recently a birthday + Christmas present in the shape of an overlocker. Although I don't consider myself a particularly advanced sewer (yet), I had been thinking for a while about having a more polished finish in my clothes and using knit fabrics, which can only be achieved with the help of an overlocker.


My new friend is a Husqylock S15 (Husqvarna). It took me a while to decide, I spent ages comparing online; so many brands and prices are a bit mind-boggling. At first, I thought of a second hand one for about £70, but that's already a considerable expense without being able to see if it worked properly. Then I heard that certain German supermarket does occasional offers, and discovered that it is very similar to a well known brand, but on the cheap. I was mainly sceptical about the customer service for such a high cost item.

Eventually, I went to a local shop and they showed me a few different models but, being a beginner, I wasn't able to distinguish how the sound can give you a clue about its quality; all were noisy to me. I went for the least expensive. The lady was really nice and went through the threading patiently and made it so easy that I don't understand why it's feared so much.

To summarise, these are a few tips on how to choose an overlocker:

- Price?
I would recommend  to buy the best you can afford. In terms of price, compared to a beginners sewing machine, mine cost £100, a decent overlocker is around £200. I ended up contributing to the purchase, as it was too much for such a small machine.

- New or second hand?
If possible, I would go for a new machine to avoid surprises, like missing parts. If it's only, say £50 it's too good to be true.

- Brand?
Some brands are actually part of the same company, e.g., Husqvarna, Pfaff and Singer, which manufacture in China, so they're probably going to have comparable quality (and a cover made of plastic).

- Shop?
Choose a shop that provides a brief tutorial about threading and can help you later on if something goes wrong.

- Free arm?
Not essential; it's useful to remove the left part and it helps for sleeves or trousers, but you can always lift the garment and rotate it on the side.

- 2-3-4-5 threads?
Most do 2, 3 or 4 threads, which I think is sufficient. I felt a bit disappointed that from the many stitch options with 2, 3 or 4 threads, this overlocker doesn't do a coverstitch (two parallel lines), but there is the alternative of using twin needles in a normal sewing machine for finishing hems.

Finally, one important thing I've learned is that threading is easy. You just need to follow the diagram and get a good pair of long tweezers (to get into the nooks and cranies).

Tuesday, 25 November 2014

Shirt from Vogue 2634

This shirt is a quick version based on view d, sleeveless and without pockets, which I might add some day. I was looking for something that I could wear on a daily basis to work. I was getting a bit bored of the usual cheap stripy blouses.


This pattern was a bit tricky at times, for instance, how to sew the collar and the armholes facings without the aid of the detailed instructions found in beginner's books. When I cut the collar pieces, I had to trim them to avoid looking like Harry Hill (great comedian, by the way). This little adjustment caused me some confusion because nothing matched! I managed to fit them thanks to online videos and some unpicking.

The armholes diagram in the pattern wasn't that clear, the facings had to be attached and trimmed but then I wasn't sure how to go on to attach the remaining part, so there is a bit of puckering on the sides, which doesn't look that bad; it seems like gathering and is also partially hidden in the underarm area.

One of the things I feel most satisfied with is the buttonholes. It's something I've been putting off for a while but they are not that complicated at all; you just need a good practice, about half a dozen or so in a scrap of fabric and that's it. My sewing machine (Singer 8280) has three settings (two for the long vertical sides and one for the short horizontal ones at the bottom and top), so the only thing to adjust is the stitch length (how close together the stitches are). A great tip from the basics book I have is to open the buttonholes from the side towards the center to avoid cutting through the stitches. I then attached the buttons by hand, which were recycled from an old shirt.

As the pattern says, it's a loose fit, and once I put it on I found that I prefer to have darts, to give some shape. I'll try, though, other views with long sleeves, more useful for the winter, and possibly the long one (view a) in knit fabric for a sort of jacket to wear at home.

Sunday, 19 October 2014

Sleeveless top from The Great British Sewing Bee

After having a look at reviews and comments in blogs, I decided to buy the book from the second series of The Great British Sewing Bee: 'Sew Your Own Wardrobe'. What convinced me was that instead of being a general book for beginners, it was focused on clothes and came with full patterns. No cushions, bags or curtains. I already have a brilliant book that covers all of them, 'Sewing machine basics' by Jane Bolsover.


I made the sleeveless top, really easy after a few tweaks. The pattern fits most sizes, but mine was so loose on the back that I had to narrow it quite a bit. I learned a trick that I might use next time. You can put a narrow elastic band in the hem that will keep it in place.

One little mishap was the fabric catching on feed dog, so it's better not to look too close at some of the threads. Thank goodness it has a busy pattern!


Sunday, 31 August 2014

Anda dress (Burda)

The Anda dress was my first attempt at commercial patterns, I was looking for something really easy and getting it online as a PDF seemed fairly straightforward and cheaper than in paper. It's a sleeveless dress with a gathered waist, not complicated at all, but I struggled at times with the instructions.


The facing on the sleeves was not very clear to me, so after checking a few tutorials I ended up doing a bias binding that doesn't show on the outside, which looks almost professional. It's quite different from how I had attached it in the apron. Another thing that I'm not entirely sure about is the final shape of the sleeves, the front and back in the lower side are joined in a v-shape, rather than round, although it's not a major concern, as it's hardly noticeable under my arms.


The pattern fit is certainly wide, so there is not much point in spending time adapting it as long as the bust size is right. Finally, something I would change is the neck. I found it a bit narrow, just enough to get my head through.

Thursday, 8 May 2014

Drawstring trousers


These trousers look like pyjamas but that's maybe because I used a cheap cotton fabric instead of linen. I followed my approach of trying to minimise costs for the first go, and later I intend to do a proper linen version  that can be worn in the summer.

The pockets need a bit of structure so they are reinforced with interfacing, what a difference this makes! One thing I skipped was the topstitching, the curve of the pocket looked so neat...


For the pattern adjustments, although I needed to combine different sizes, I decided that I would only try to fit my hips measurements and the drawstring would be enough to keep the trousers in place.

Thursday, 6 March 2014

A-line skirt


The easy part of making the skirt was the pattern, one piece for the front and two for the back, all symmetrical. The tricky part was adjusting the waist. I had to combine different sizes to fit waist and hips, which is not uncommon, but wasn't sure about the ease. I wanted to leave enough space to be able to breath so I had to keep trying it on many times to find a decent fit. I forgot to transfer the new measurements from the skirt to the pattern, not a great idea. The flowery skirt is a bit wonky on the sides, as a result. For the cord skirt I managed to get some french curves, so both sides are even (also in the pattern).

What I really enjoyed was the darts, they are really easy and make the skirt look like a skirt!

I struggled with the zip, I had to repeat a couple of times to keep a neat finish but it got better on the second skirt, and hopefully the following one(s) will too.

Wednesday, 5 February 2014

Bag with lining

Another of my old projects. And this didn't turn out very well. It happens.

I tried to make a bag with two handles that ended up sewn on the wrong side. See the little image from the book. I know it's embarrassing but I thought that it would be also helpful to include flawed projects to remind me what not to do.

 
I was undoing something and, when I attached the handles with both layers inside out,  I didn't check where the front and the back were until I was in the middle of sewing the outer layer. It was so annoying that I didn't even bother to finish the button holes on the flap.

Thursday, 30 January 2014

Leggings finished!

Here we are with the leggings finished!


The sewalong was great fun. I got to draft my own pattern, which didn't prove too difficult. I'm really happy with it, and I'm sure that I will use it again many times, to make variations, like a wider leg or shorter for the summer, perhaps.

I took the measurements myself, they are fairly accurate, although I'll have to adjust a bit the length. I find it's too long but all in all it's great.

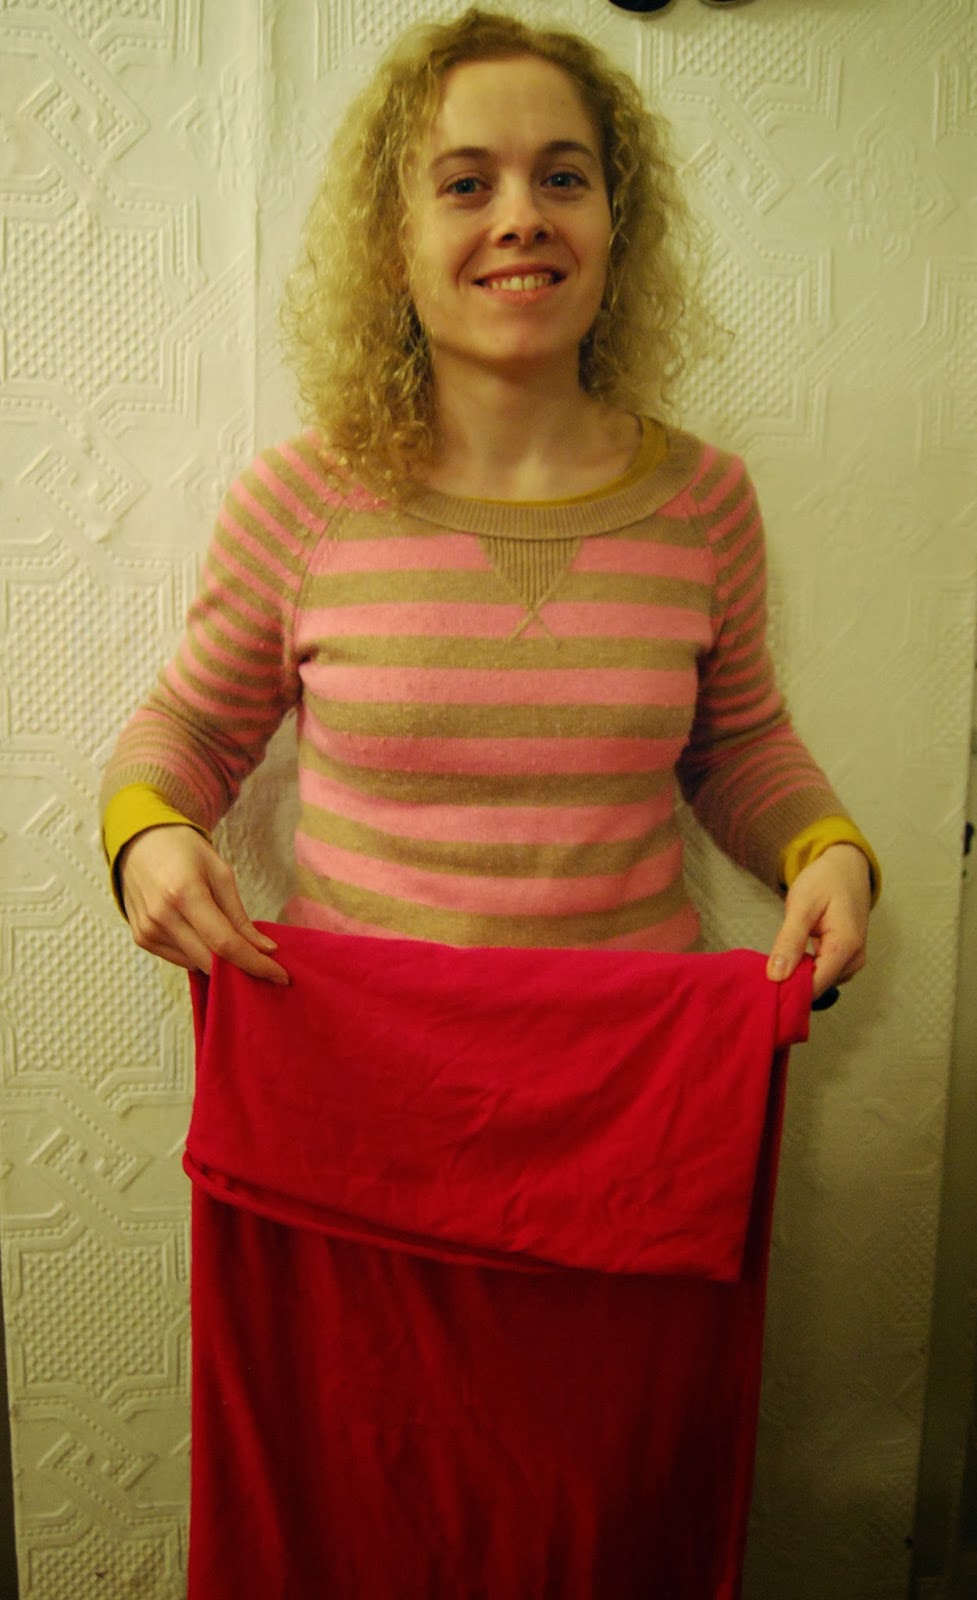
I tried to have some photos taken but I'm not as brave as other participants to show my derriere, so this sort of shows my legs from above.


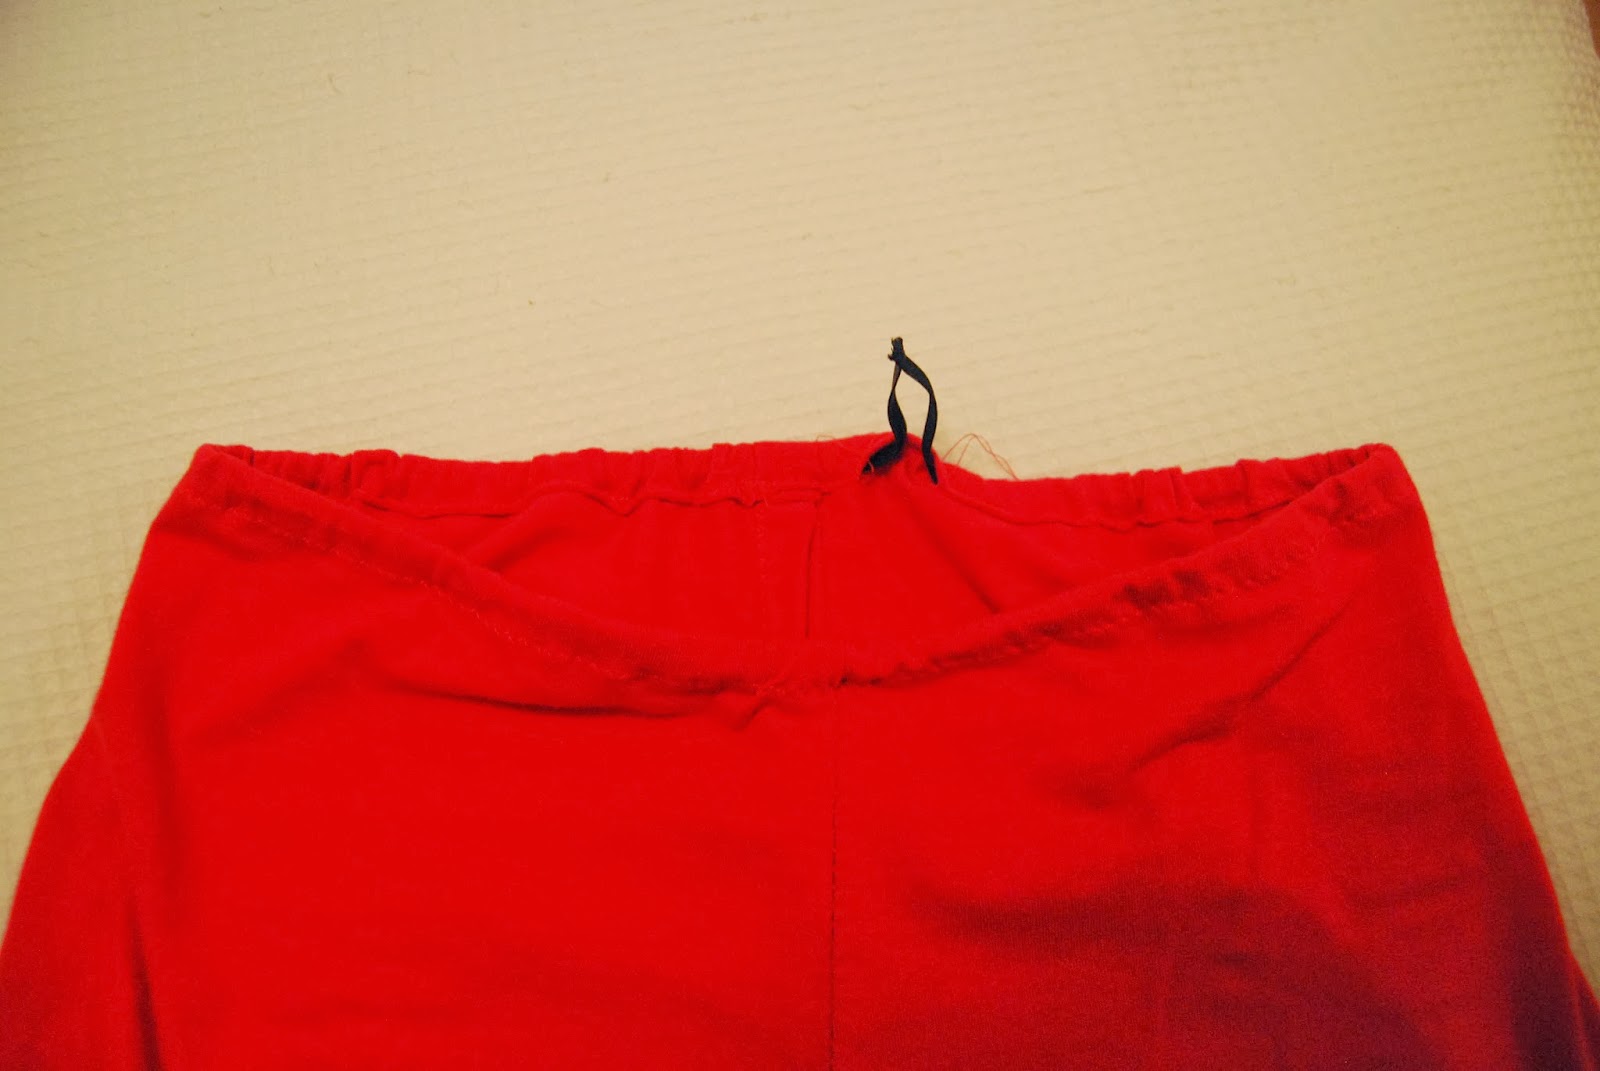
For the waist, as I was a bit pushed for time, I simply made a casing turning the fabric in and inserted the elastic band. Not very sophisticated but very comfy.


Thanks a lot to Maider for your hard work, you're brilliant. What's next? A hoodie? A onesie?

Wednesday, 15 January 2014

Sewalong leggings

I'm so excited to be taking part in a sew along! It is organised by Masustak eguzkitan, and I'll be making some leggings.

It took me a while to decide on the fabric, I wasn't very keen on black or the typical marl grey but obviously I'm not leaving the house in this...


We'll see the results by the end of the month.

Tuesday, 14 January 2014

Little useful things made of felt

As well as cotton, I made a couple of things out of felt.

Exploring on the internet about what tools and other materials are necessary for beginners, I became obsessed with pin cushions.

  
Later I discovered needle books (I had no idea that such thing existed!) and this is the result, with some sort of daffodils on the cover.


From all the tutorials I found online, I used these two for the pin cushion by Purl Bee and the needle book by Little Birdie Secrets, with great instructions and photos.

Tuesday, 10 December 2013

Apron

 
My second project was an apron with a patch pocket and binding. I made the bias binding from scratch, not too difficult, but at times I couldn't help getting carried away, sewing faster and faster until suddenly I'd realise that I had missed the other side of the fabric. I had to undo quite a few parts and I became good friends with the seam ripper.

The result looks good from a distance so I hope that next time the stitches are parallel to the edge.

Monday, 18 November 2013

Envelope Cushions

Cushions are the easiest thing to make for a beginner. These are simple envelope cushions, made out of one square and two rectangles of fabric. For my first cushion I used three old shirts, obviously the cheapest way to start small projects.


My second attempt at cushions was with shop bought fabric, as I was starting to run out of shirts, but also I wanted to make something that I could use without feeling embarrassed.

 
I learnt that patterns are useful, what a discovery! How come I couldn't draw perpendicular lines on the fabric!? My first experiments with cushions made me realise that even for a simple shape, you can only cut decently with the help of that solid material called paper pattern.